iOS: How to configure an app for Ad Hoc distribution
How you have to configure an app for Ad Hoc distribution, and what do you need? Well, with that problem, I start my blog.
It's not a taboo, that 's probably more confusing the way to send app's to the appstore than even the objective-c language. Those days on my job, I had to deal with the common problem of testing an app with some devices that cannot be connected directly to the developer's computer, so also as a self-guide for the next time, I begin with that.
First of all, I base my explanation with the Xcode version 4.2 and having a valid Apple developer license.
Creating the app ID and the provisioning profile
Log in with your development username and password to developer.apple.com member center, and go to the Provisioning portal.
I guess you have your development & distribution certificate, if not, in their related menu options, there's explained how to get one. Then you must choose the App ID's option, and add a new one*:
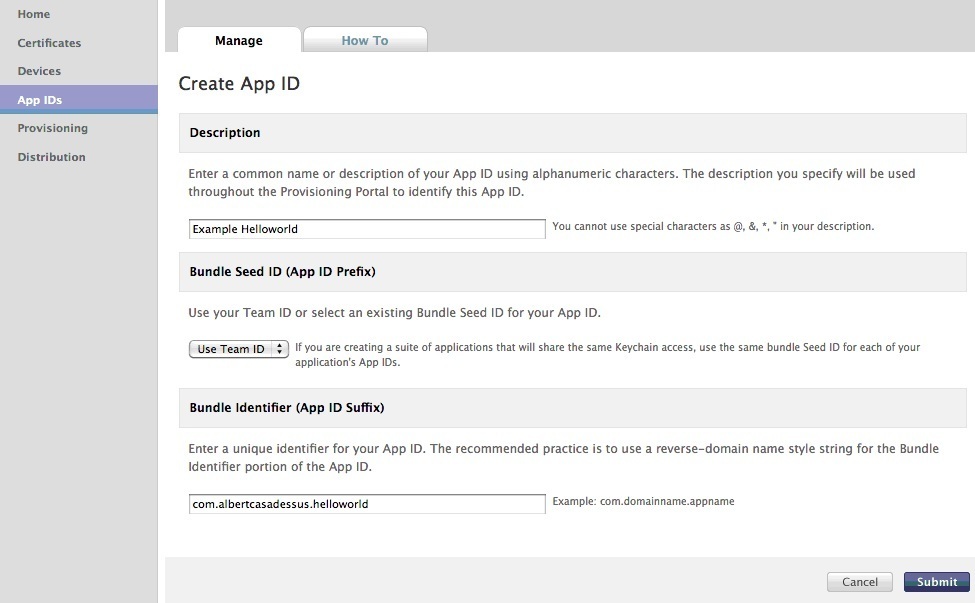 *In my case I'm not creating a new one, I'm using the Xcode: Wildcard AppID that's managed by Xcode.
After that, go to the Provisioning option, and the Distribution tab. Add a new one.
Then be sure to check Ad Hoc and write a custom Profile name. Choose the right App ID (the one you created in the previous step) and check the devices where you want to test the app.
 After that, download the Provisioning Profile and keep it in a known place.
Importing the Provisioning Profile to Xcode and configuring app.
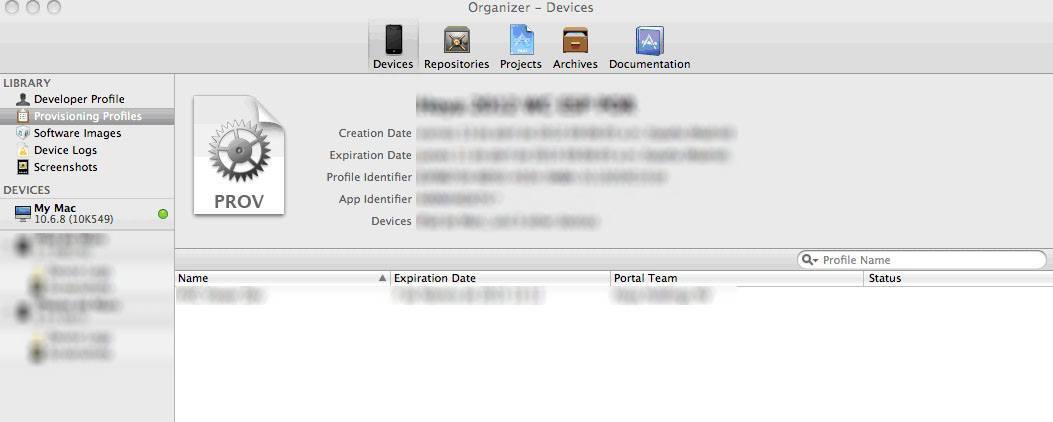
Now, left the developer.apple.com, and open the project with Xcode. Go to the organizer (Window > Organizer). Then drag the Provisioning profile you created and downloaded to the Provisioning profiles tab.
Now close the organizer, and highlight the project. Choose the info tab (at the top) and duplicate one of two current configurations, and rename it, for example as Ad Hoc Distribution.
Choose the target (below the project), Summary tab and check Enable Entitlements (just do that, if your project need it, using iCloud for example), a new file project.entitlements will be created (look at the project tree). This file must look like "$(TeamIdentifierPrefix)<project bundle identifier>". If it's not the case, fix them. I cannot explain more on this, because I never used it.
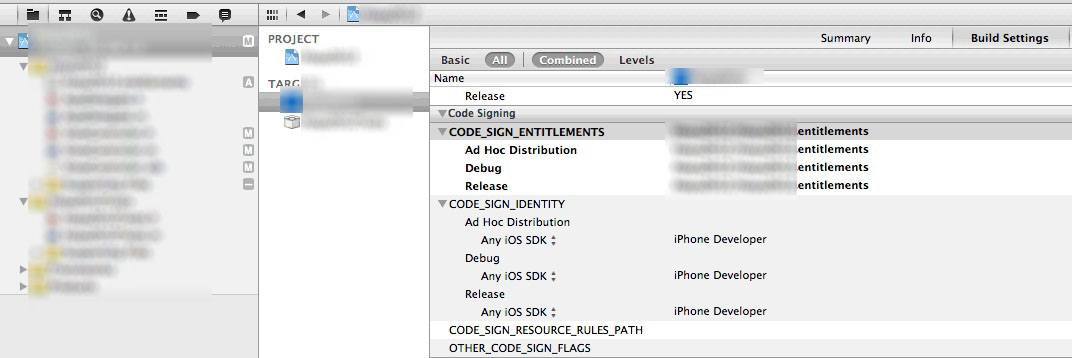
In the Build settings tab, ensure that the value VALID_ARCHS is set to armv6 armv7. Then sign the code. In apple documentation, it seems that where on image below appears iPhone developer, it should be a dropdown list with the provisionings, but just let as shown in image.
In the case you use entitlements, it the different value should be the same as the entitlements file name.
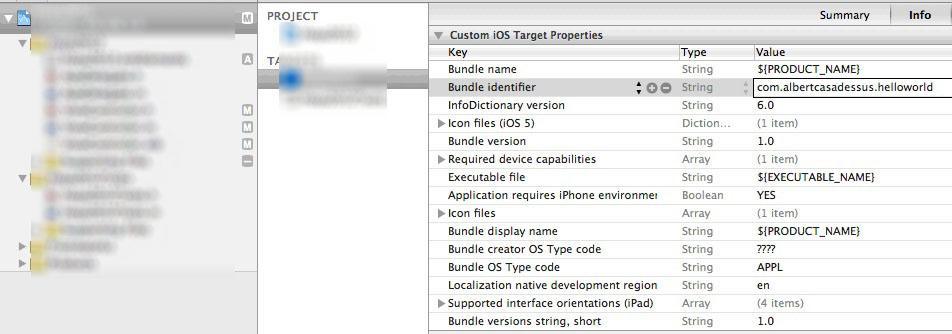
Finally, you just need to fill the Bundle identifier with the same App ID (without the alphanumeric prefix), for example com.albercasadessus.helloworld.
That's all. Now you just need to build and archive. First of all, change the target to iOS Device instead of Simulator (in the dropdown nex to the Run and Stop button). If not appears iOS Device, just disconnect any apple device connected. After that:
Product > Clean.
Product > Build.
Product > Archive.
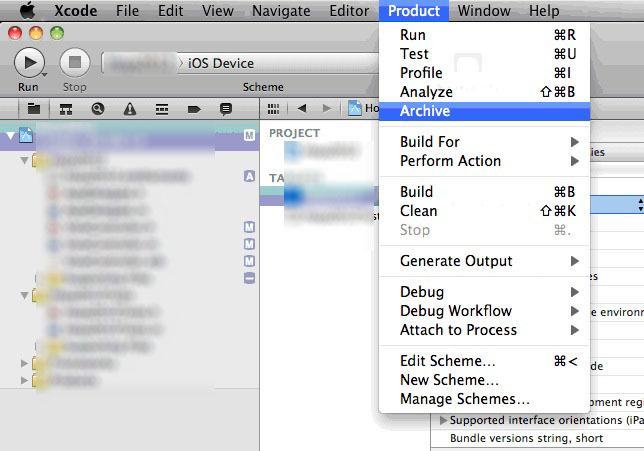
Organizer will appear after do Archive. Choose iOS App Store PAckage (.ipa), and in the dropdown, select the provisioning profile you downloaded and created before!
A file will be generated. Save together with the provisioning profile on finder. Then send it to the beta-testers (the devices you selected when you created the provisioning profile)
Install the app for testing in a device.
That's the easiest part. Just follow this steps:
1- Connect the device in a computer with iTunes.
2- Drag the provisioning profile (file with . mobileprovision extension) on iTunes.
3- Double click the file app.ipa (or <whatever>.ipa). That will make the app appears on iTunes
4- Now just syncronize the device, and the app will be installed.
